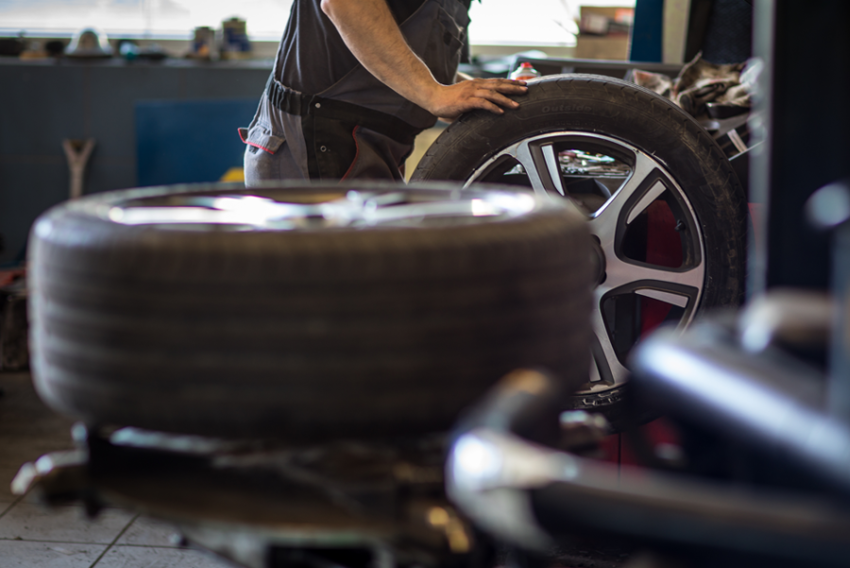
It is important to remember that during the tyre removal and fitting procedure, the various combinations of tyres and types of rims affect the complexity of the process, requiring careful assessment and strict adherence to the procedures described here.
The main types of tyres, defined according to their structure, are:
- Conventional radial tyre: with a sidewall-to-tread width ratio greater than or equal to 45
- UHP (Ultra High Performance): a low-profile tyre with a sidewall-to-tread width ratio less than 45 and a speed rating greater than V
- Run Flat: a self-supporting tyre or a tyre with internal support, allowing driving for approximately 80 km even without pressure
The dimensions that characterise the wheel are:
- Wheel width
- Wheel diameter
- ET offset (the measured distance from the wheel's hub mounting surface to the centre line of the wheel)
- Hump (the internal reinforcement of the channel)
The instructors at the Federpneus National School recommend adopting the WDK procedure, which allows a single methodology to be applied for tyres with and without an inner tube, conventional high-sidewall radials, UHP, Run Flat, and tyres with TPMS sensors at the valve.
Precautions Before Tyre Removal and Fitting:
- Keep the tyre at a minimum temperature of 15°C, to prevent casing hardening, which can cause stretching between the beads and bead rubber, as well as cuts and abrasions during bead breaking
- Always clean the rim and tyre, as encrustations or rust can prevent an airtight seal
- Check and replace the valve; in the case of a rubber snap-in valve, the base may not adhere properly after deflation (if the valve has a sealing gasket, replace this as well)
- If a TPMS sensor is present, check the condition of the snap-in valve and the sealing gaskets of clamp-in valves
Bead Breaking
Before starting the removal process, check that there is no risk of the tyre bursting due to damage (cuts, bulges, exposed plies), and remove any spring balance weights and adhesives. Then, unscrew and remove the valve core to ensure the tyre is completely deflated.
1. Place the wheel on the side support of the tyre changer with the front of the rim facing outwards. For tyre changers with dynamic bead breaking rollers, place the wheel on the turntable and secure it.
2. Move the bead breaker blade to the rim edge to adjust the angle, positioning the wheel with the valve opposite the bead breaker. For rims with EH2 Hump, this position makes bead breaking easier.
3. Lubricate at the entry point of the bead breaker blade and rotate the wheel about 20° to facilitate bead breaking.
4. Repeat the operation on the inside of the wheel by turning the rim.
With a roller-type tyre changer for bead breaking, start with the lower part, positioning the upper roller at the bead. Lubricate the bead as the roller separates the tyre from the rim and continue turning the turntable. Repeat with the upper roller. If the upper bead tends to seat itself, use the side depressor. Using depressors reduces critical points where the tyre beads stretch. These stretches can compromise airtightness, affecting the necessary adhesion between rim and tyre.
Removal of Upper Bead
1. Place the wheel on the self-centring plate of the tyre changer. For alloy rims, grip from the outside inwards using the clamps on the rim edge.
2. Set the tool holder arm, ensuring all protections are installed on the lower and front parts of the tool. Lock the arm, ensuring it does not scratch the rim. For wheels with protruding spokes, maintain a slightly greater distance.
3. Position the valve and its sensor before the mounting tool as shown. Position the bead under the rim's Hump at 6 o’clock to keep the tyre in the drop centre of the wheel.
4. Lift the bead above the rim flange using the lever and mounting tower. To prevent rim damage, use a lever with protection. Slowly rotate the wheel in the direction of rotation, guiding the tyre out of the rim.
Removal of Lower Bead
1. Position the valve and any sensor before the mounting tool, then rotate clockwise.
2. Lift the tyre bead with the lever, push the tyre upwards using the lever as a fulcrum.
3. Slowly rotate the tyre changer plate clockwise until the bead is removed.
Fitting
Before fitting, check the information on the tyre. When greasing the beads and rim, ensure the mounting paste is not diluted with water, as this can cause moisture inside the wheel and lead to oxidation of the wheel and any TPMS. After greasing both beads and the rim at the two Humps, proceed with fitting the lower bead.
Fitting the Lower Bead
1. Position the valve and any sensor relative to the mounting tool as shown. Adjust the tool holder arm on the rim, leaving a gap between the tool and the rim.
2. Slowly rotate the tyre changer plate clockwise. Insert the lower bead of the tyre at the correct angle, ensuring the bead slides behind the rear part of the mounting tool.
3. Ensure the distance between the valve and the traction point is not less than 15 cm.
4. Slowly rotate the tyre changer plate clockwise, ensuring the bead slides smoothly without jamming.
Fitting the Upper Bead
1. Position the valve and any sensor in relation to the mounting tool as shown. Use bead depressors for UHP and Run Flat tyres. The lateral assist helps push the bead under the upper Hump, using the rim channel to avoid bead stretching.
2. Slowly rotate the tyre changer plate clockwise. Insert the upper bead of the tyre at the correct angle, ensuring the bead slides behind the rear part of the mounting tool.
3. Ensure the distance between the sensor/valve and the traction point is not less than 15 cm.
At this point, you can proceed to inflate the tyre.